Hi Everyone!
This week's blog post is another birthday cake but this time it's a mini one. This red velvet cake with cream cheese frosting is great for any occasion and I chose it to make a cake for a newly three year old.
So let's get started...
You will need:
- 60g butter
- 150g caster sugar
- 1 egg
- 10g cocoa powder
- red food colouring
- 0.5tsp vanilla extract
- 120ml milk
- 1tsp lemon juice
- 150g plain flour
- 0.5tsp salt
- 0.5tsp bicarbonate of soda
- 1.5tsp vinegar
- two 4.5" round cake tins
- 300g icing sugar
- 50g butter
- 125g cream cheese
- sprinkles
1. Preheat your oven to 170°C/ gas mark 3
2. Beat the butter and sugar together until light and fluffy
3. Beat the eggs together in a separate bowl and slowly add them to the butter and sugar mixture; beating until incorporated
4. Mix the vanilla, cocoa powder and red food colouring together in another bowl. I didn't add enough colouring which is why my end cake looks more like chocolate cake than red velvet!
5. Add the vanilla, cocoa powder etc to the butter mixture and beat until combined
6. Mix the milk and lemon juice in a jug and let it rest for at least 5 minutes
7. Add the flour to the mixture and mix while adding the milk
8. Add the salt, vinegar and bicarbonate and mix once more
9. Spoon the mixture into your lined cake tins and place in the oven for about 20-30 minutes, making sure to check on them
 | |
| Before the oven |
 | |
| After! |
1. Place all the cream cheese, icing sugar and butter into a bowl and mix together until creamy and smooth.
2. Spread the cream cheese frosting in between the cake layers and sandwich the cake together.
3. Take a palette knife and spread the frosting around the sides of the cake.
4. Pour some sprinkles onto a plate and picking the cake up holding the top and bottom roll the cake sides into the sprinkles until the sides are completely covered in sprinkles
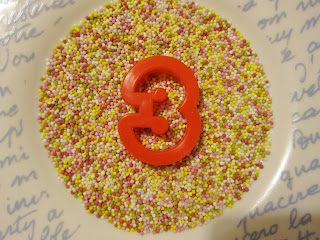
5. Optional step: Place the number cookie cutter on top of the cake and pour some sprinkles into it, pressing them down to make sure they're stuck in place.
6. Remove the cookie cutter and sprinkle some more sprinkles on top of the cake, but not too much as then you won't be able to make out the number
And you're done!
I hope you enjoyed this blog post and I would highly recommend making this cake as it tastes delicious and soft!
See you next week :)


No comments:
Post a Comment