
I'm back this week with yet another cake blog post :) This one is for a super cute dinosaur cake which is inspired by an idea from Betty Crocker. This cake is great as a birthday cake because you can customise it and make it the birthday girl/boy's favourite colour.
So let's get started...
For the cake you will need:
- 438g caster sugar
- 438g butter
- 7 and a half eggs (you can beat an egg and then add half to the mixture to get the half)
- 500g self-raising flour
- teaspoon vanilla essence
- 10" round baking tin
- 7.5" round baking tin
- double batch of 'My Go-To Buttercream Icing' coloured any colour, I chose Purple
- palette knife
- white chocolate buttons
- pink smarties
- black and white writing icing
- serving tray
2. Mix together the caster sugar, butter and flour
3. In another bowl beat together your eggs and vanilla
4. Stream the eggs into the flour mixture and beat until smooth and well combined.
5. Place the mixture into the two lined tins, adding more of the mixture to the 10" tin
6. Pop in the oven for about 40-50minutes making sure to check on the cake towards the end. The smaller cake may need to come out before the bigger one is done


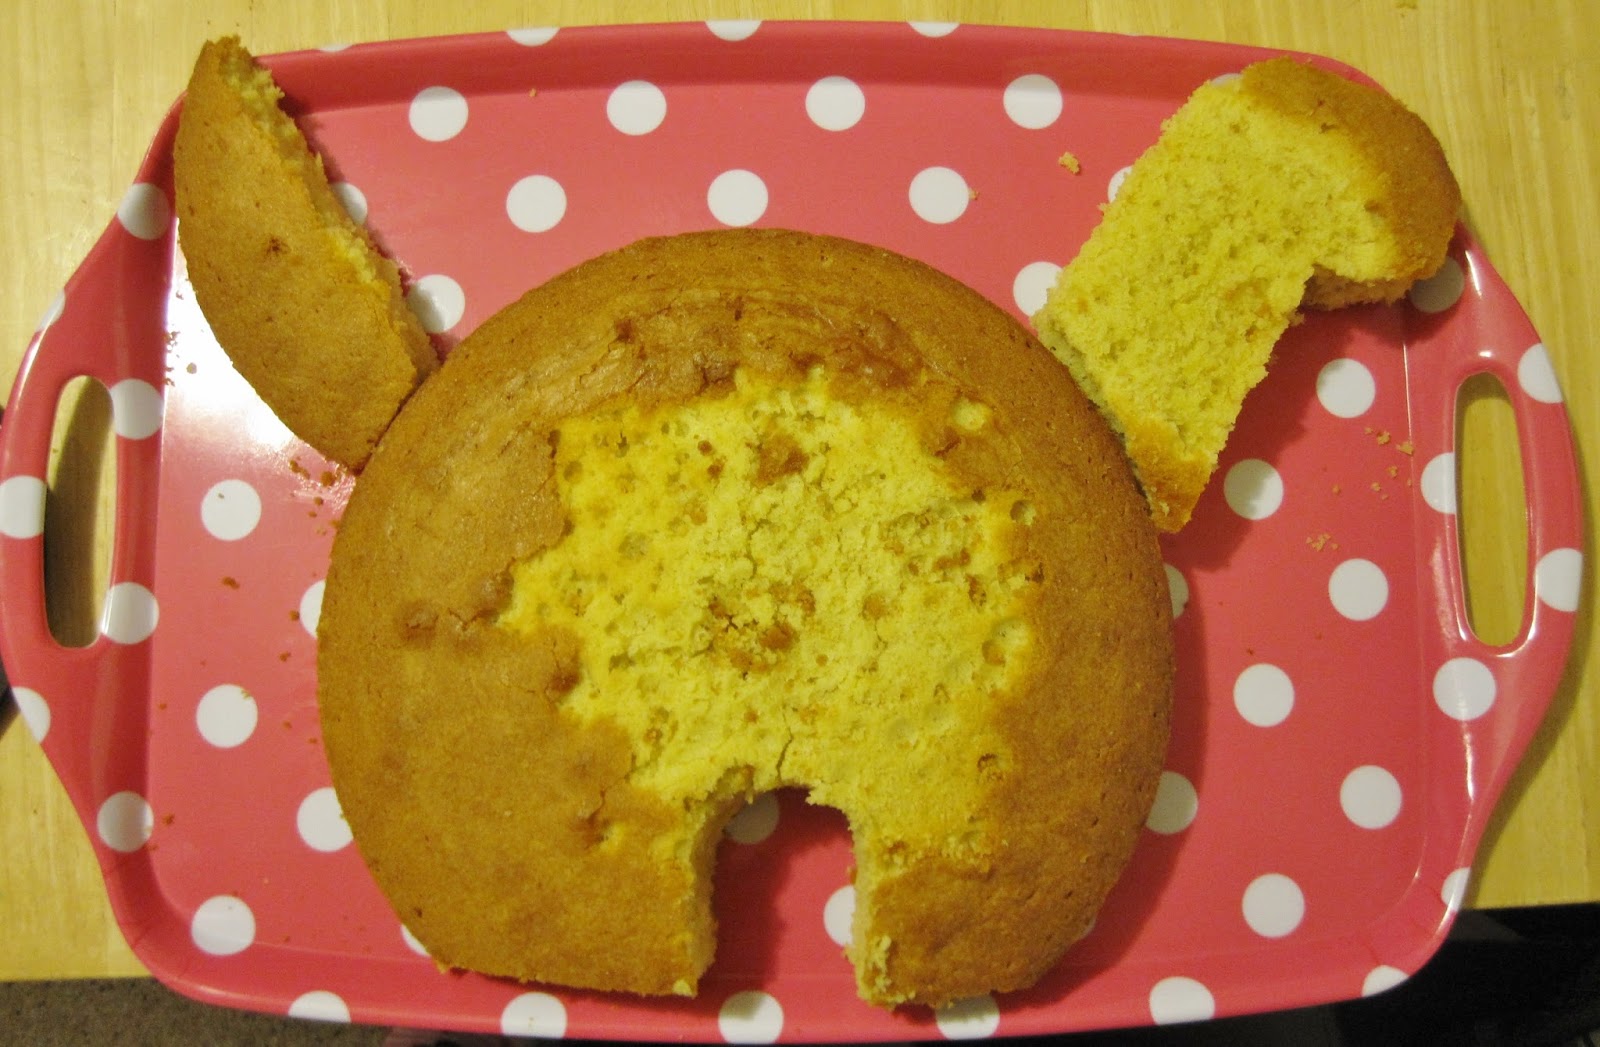
7. When the cake has come out of the oven and is cool, you can start shaping the dinosaur!


8. Take your icing that you made following these steps, and spread a thin, crumb coat over the cake pieces

9. Now ice on the main layer making sure to go over the cracks between the cake pieces to make the cake look like one piece
10. Place about 3 smarties onto each foot to represent toes and place a white button near the top of the head to represent an eye
11. Take black writing icing and draw a little black dot onto the white button/eye and use white writing icing to draw half a smile onto the face
12. Next take your smarties and buttons and place them around the dinosaur to add some spots
13. Finally take some more buttons and stick them sideways into the dinosaur's neck, back and tail to resemble spikes


I hope you enjoyed this adorable customisable dino cake and I'll see you next week :)
No comments:
Post a Comment