
Hello Everyone!
This week's blog post is another birthday cake as October/ November is birthday season for my family. This cake was inspired by Coco Cake Land aka Lyndsay Sung (who has the most adorable Instagram btw). This cartoon strawberry cake turned out adorably and it will definitely delight the recipient.
So let's get started...
First thing's first, what you'll need:
- 350g caster sugar
- 350g butter
- 6 large eggs
- 400g self raising flour
- teaspoon vanilla extract
- 2.5 quantities of 'My Go-To Buttercream Icing' (so that's 325g butter & 650g icing sugar)
- french star nozzle
- piping bag
- Progel 'Strawberry' colouring
- white chocolate chips
- black fondant
- 7.5" round cake tin
- 7.5" square cake tin
- green paper
- cakepop stick
2. Place your eggs into a small bowl and beat together. Beating the eggs before adding them to the other ingredients prevents the cake from cracking into a point.
3. Place the sugar, butter, flour and vanilla into your mixing bowl and add the eggs.
4. Mix everything together until you have a smooth and well incorporated mixture.

5. Disperse the mixture between the two lined tins, the square tin may need slightly more mixture than the circle one.
6. Put into the oven for about 25-35 minutes, making sure to check it after 25 minutes as oven temperatures and times vary.
7. Remove from the oven and allow to cool.
8. Make the icing according to this recipe. Add small amounts of the colouring at a time until you're satisfied with the colour.
9. When the cake is cooled, place the square cake onto a cake board positioned like a diamond.
10. Cut the circle cake in half and place each half on either side of the top of the diamond, to form a heart. You may need to level the cake a bit so it's even.

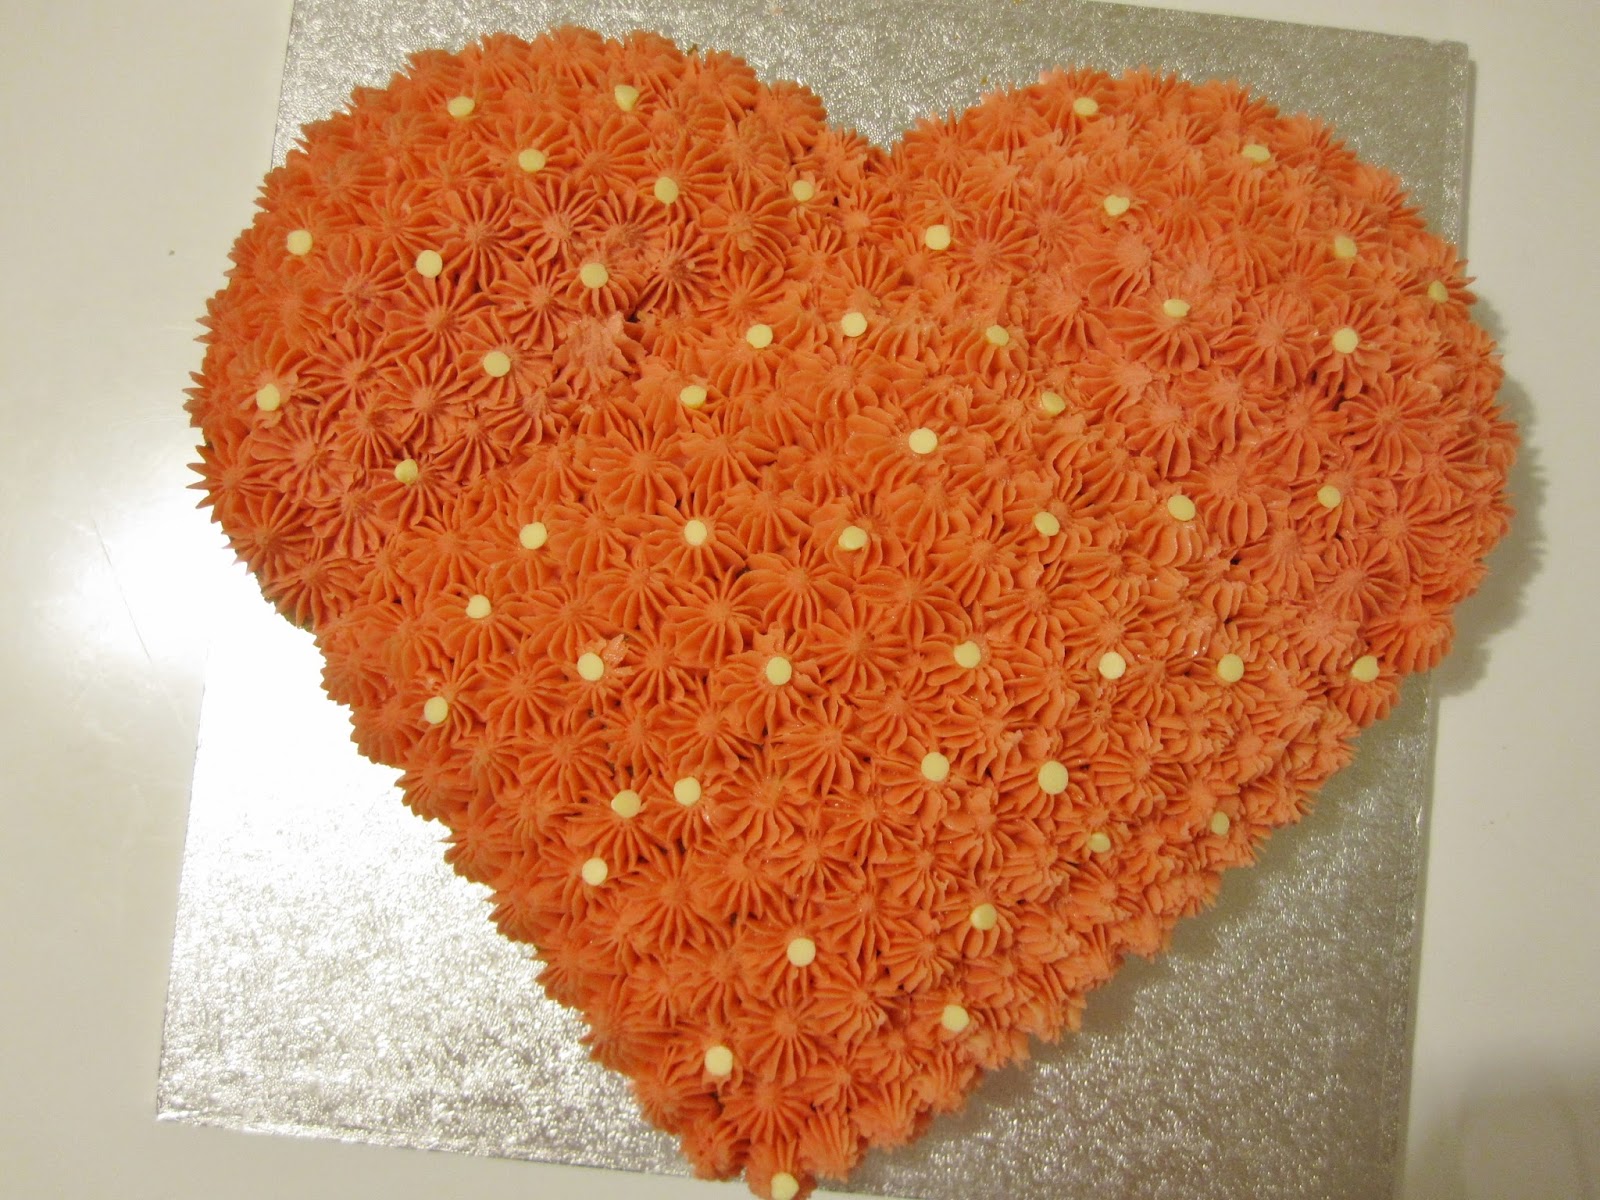
11. Fill your piping bag with the icing and pipe 'blobs' of the icing along the outline of the cake.

12. Fill the rest of the cake's surface with these blobs and ice the sides as well.
13. Place some white chocolate chips on the cake to represent the strawberry seeds.
14. Take some black fondant and roll two circles for the eyes and a little snake which you can turn up to form a mouth. Really you can place these where ever you like! I placed the eyes and then went back and moved them.

15. The finishing touch is to take some green paper, draw a stalk/leaf shape and cut it out. I didn't have any green paper so I just coloured in the shape with a marker.
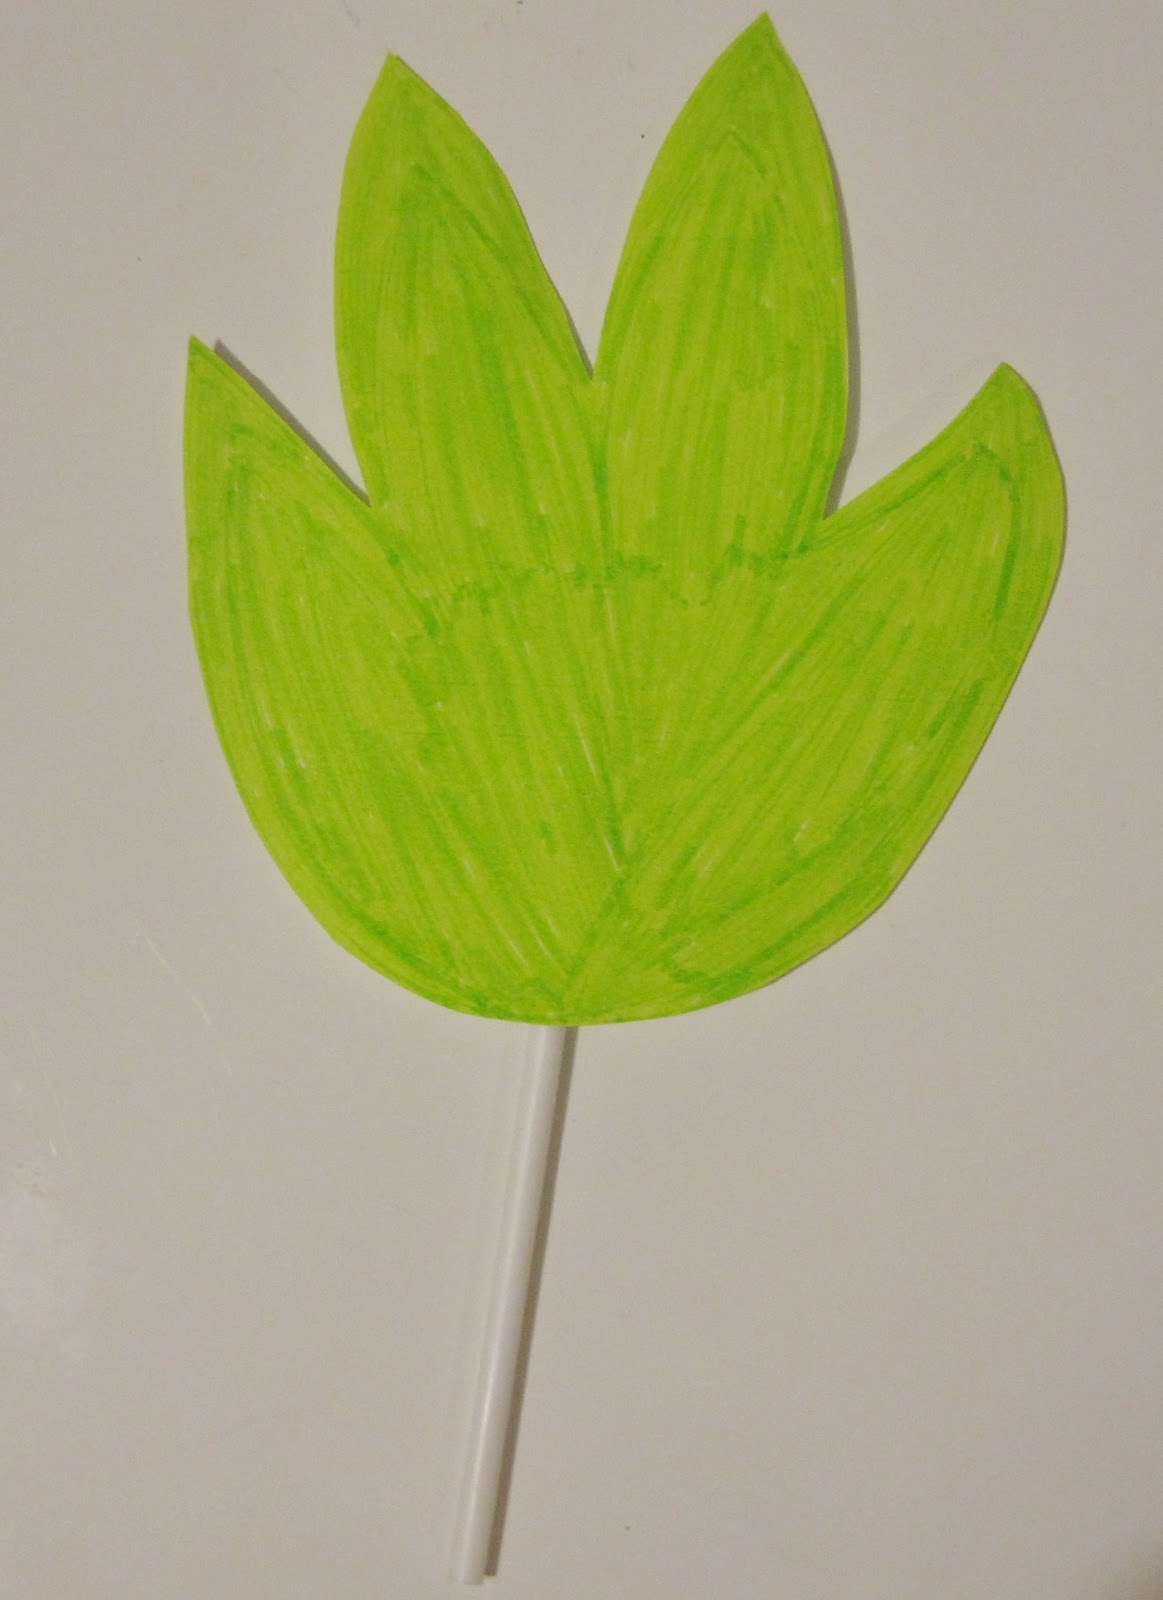
16. Attach the leaf to the cakepop stick with some sellotape and stick it into the top of the cake.

 | |
| this lighting is a bit off |

I hope you enjoyed this post and the cake if you decide to make it! Personally I think this would also be a great cake to make to celebrate the start of summer as it's so bright and cute.
See you next week :)
this is so cute!
ReplyDeleteawh thank you! Glad you enjoyed the post :)
Delete